Building a homelab - a walk through history and investing in new hardware
This is the first post in a series of my experiences while Building a Homelab. The second post focuses on setting up a local DNS server and can be found here.
I’ve had a particular interest in home computers and servers for a long time now. One of my experiences was wiring my childhood home up with CAT-5 ethernet to the rooms with TVs or computers and having them all connected to a 24 port 100 Mbps switch in the crawlspace. This was part of a master plan to provide different computers in the house with internet connection (when WiFi wasn’t as good as it is today), TVs with smart media boxes (think Apple TV, Roku, and the like but 10 years ago), and to tie it all together a home server for serving media storing files.
The magazine Maximum PC was a major source for this inspiration as they had a number of captivating DIY articles for running your own home server, media streaming devices, and home networking. The memory is a bit rough around the edges, but these projects happened around the same time and on my own dollar – all for the satisfaction of having a bleeding edge entertainment system.
Around this time Windows had a product out for a year called Windows Home Server. It was a OS which catered towards consumers and their home needs. Some of the features it had was network file shares for storing files, computer backup and restore, media sharing, and a number of extensions available from the community. I built a $400 box to run this OS and store two hard drives. The network switch in the crawlspace was a perfect place to put this headless server. Over many years this server was successfully used for computer backups, file storage, network bandwidth monitoring, and media serving to a number of PCs and media streaming boxes attached to TVs.
Two of the TVs in the house had these Western Digital TV Live boxes for playing media off of the network. These devices were quite basic at the time where only Youtube, Flickr, and a handful of other services were available – lacking Netflix and the other now popular Internet streaming services. Instead, they were primarily built for streaming media off of the local network – in this case off of the home server file share. My family and I were able to watch movies and TV shows from the comfort of our couch, and on-demand. This was crazy cool at the time as most people were still using physical media (DVD/Blu-ray) and streaming media had not taken off yet. I also vaguely remember hacking one of the boxes to put on a community-built firmware.
Windows Home Server was great at the time since it offered all of this functionality out of the box with simple configuration. I remember playing with BSD-based FreeNAS on old computers and being overwhelmed at all of the extra configuration needed to achieve something that you get out of the box with Windows Home Server. Additionally, the overhead of having to administer FreeNAS while only having a vague knowledge of Linux and BSD at the time wasn’t a selling point.
Now back to current times. I’m in the profession of software development, have been using various Linux distros for personal use on laptops and servers, and would now consider myself a sysadmin enthusiast. Living in my own place, I’ve been using my own Ubuntu-based laptop to run a Plex media server and stream content to my Roku Streaming Stick+ attached to my TV. The laptop’s 1 TB hard drive was filling up. It was also inconvenient to have this laptop constantly on for serving content.
Browsing Reddit, I came across r/homelab, a community of people interested in owning and managing servers for their own fun. Everything from datacenter server hardware to Raspberry PIs, networking, virtualization, operating systems, and applications. This subreddit gave me the idea of purchasing some decommissioned server hardware from eBay. I sat on the idea for a few months. Covid-19 eventually happened and with all my spare time I gave in to buying some hardware.
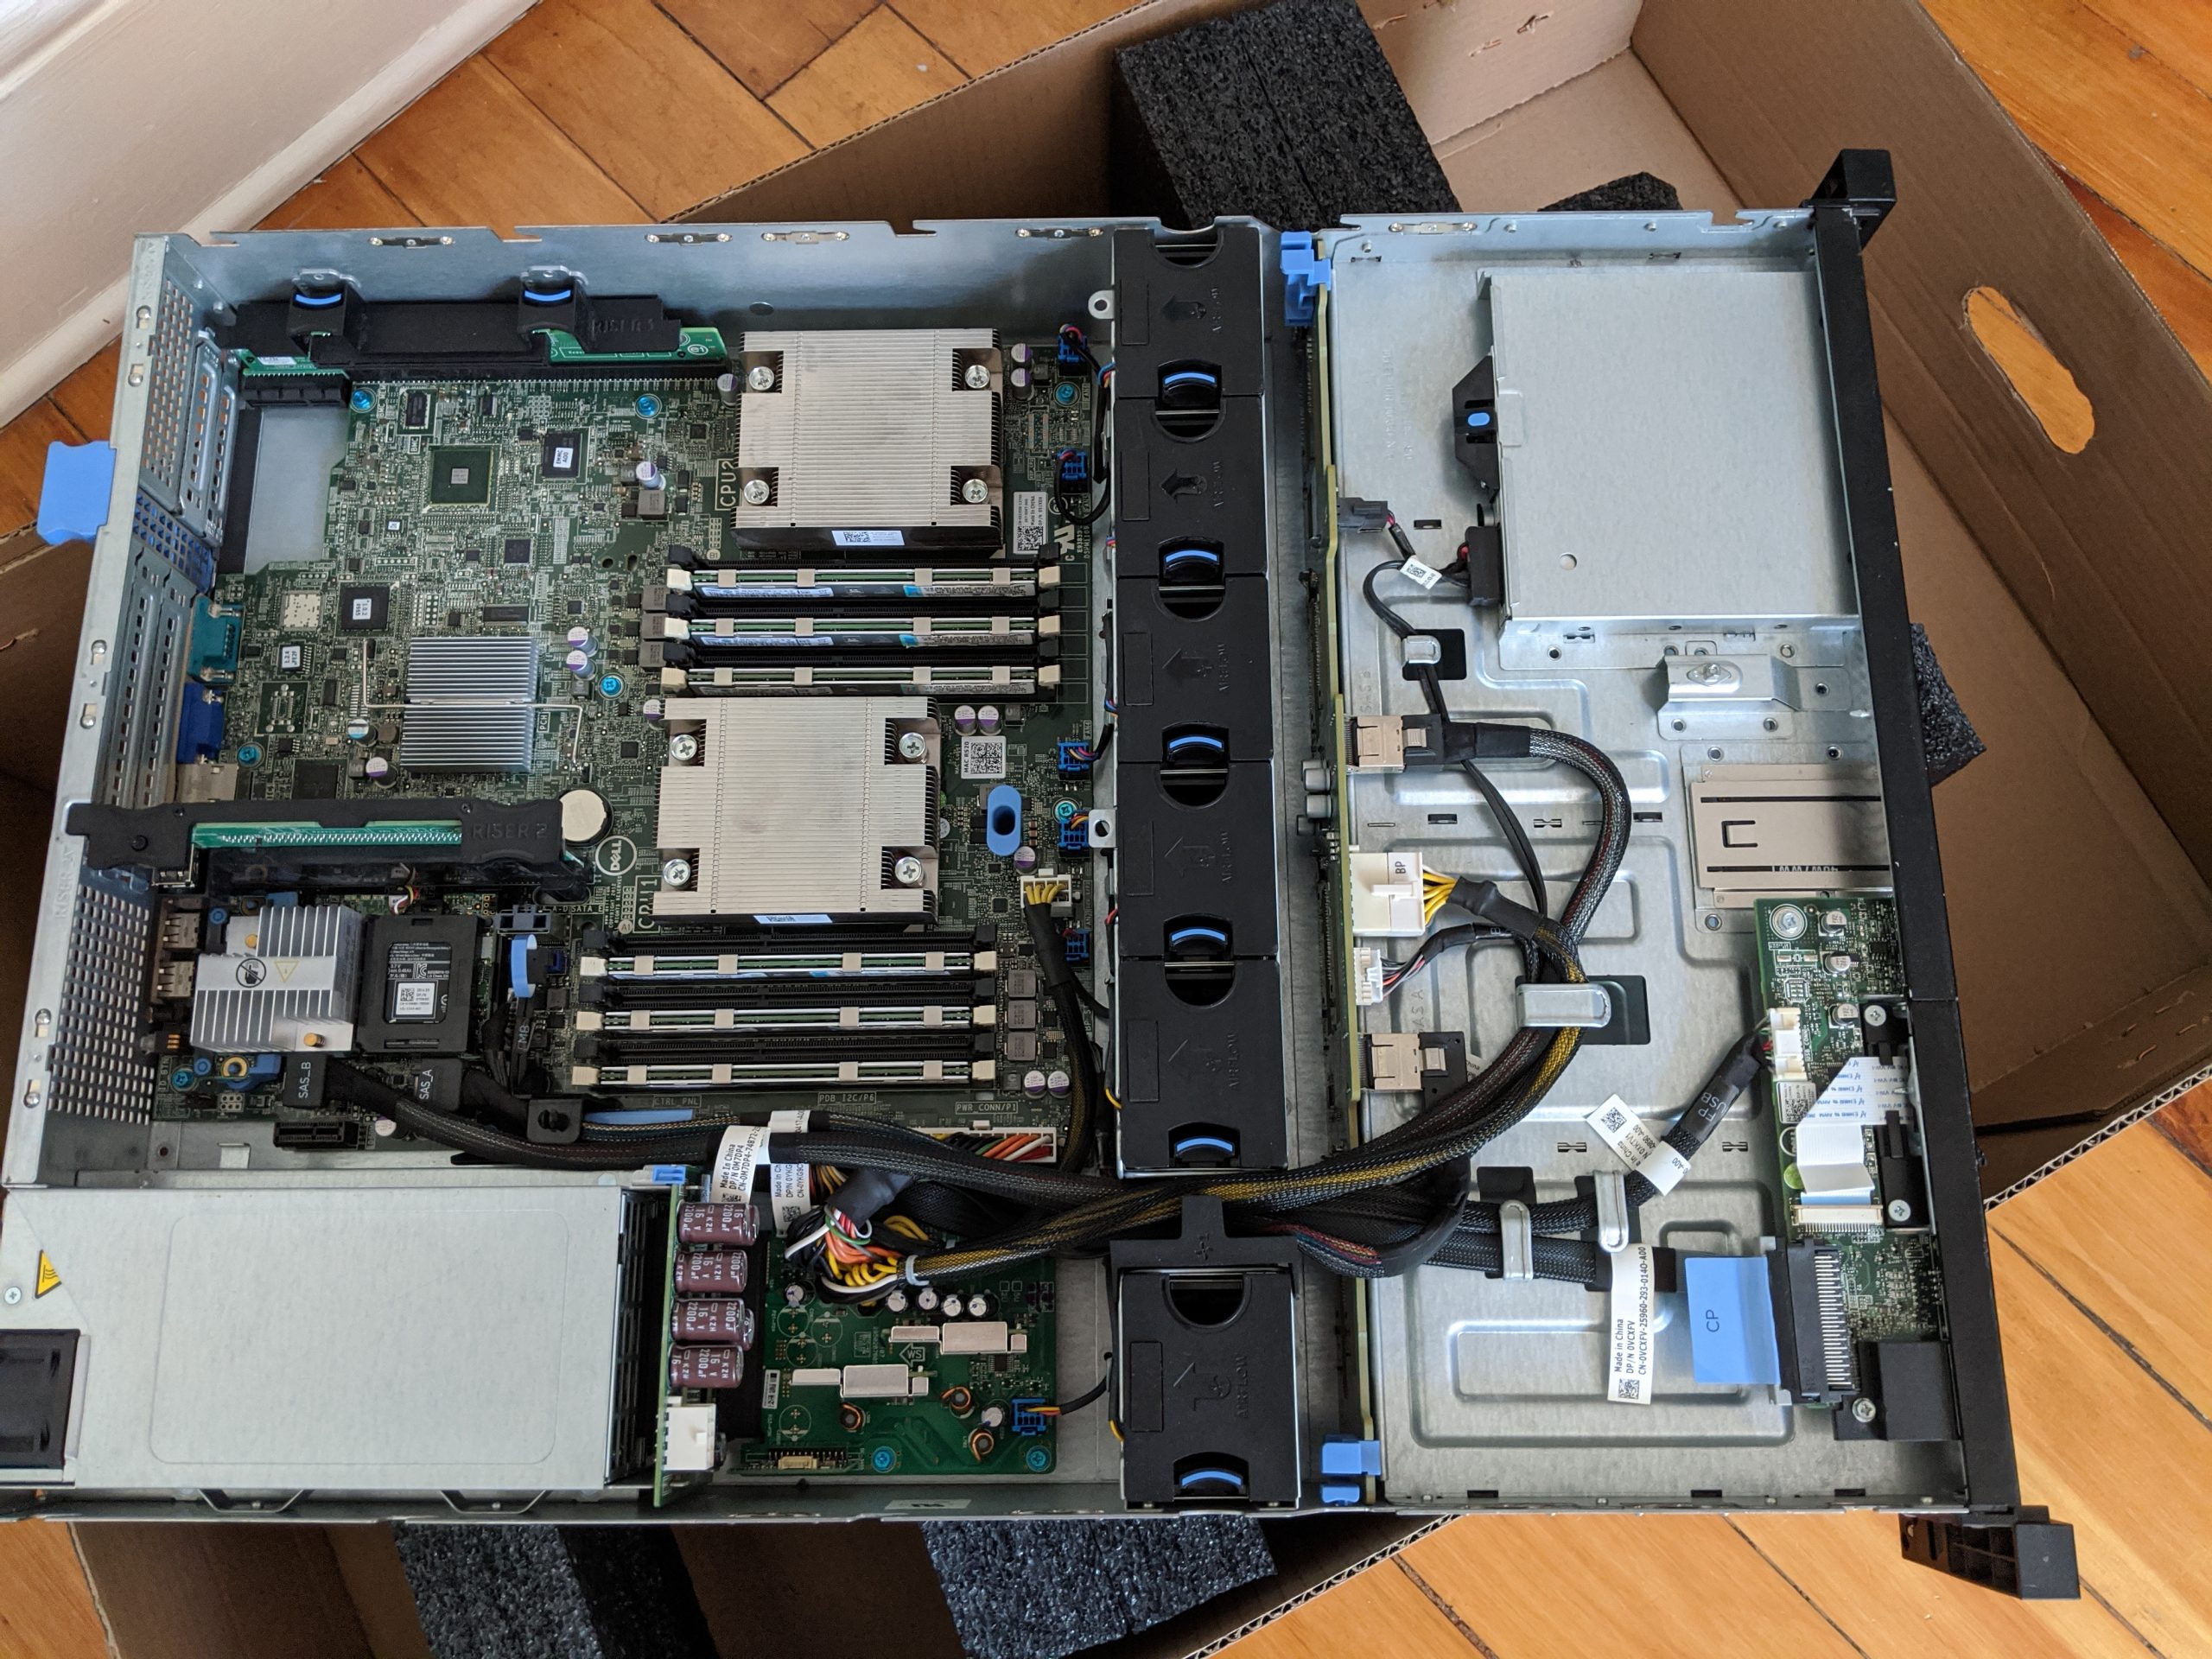
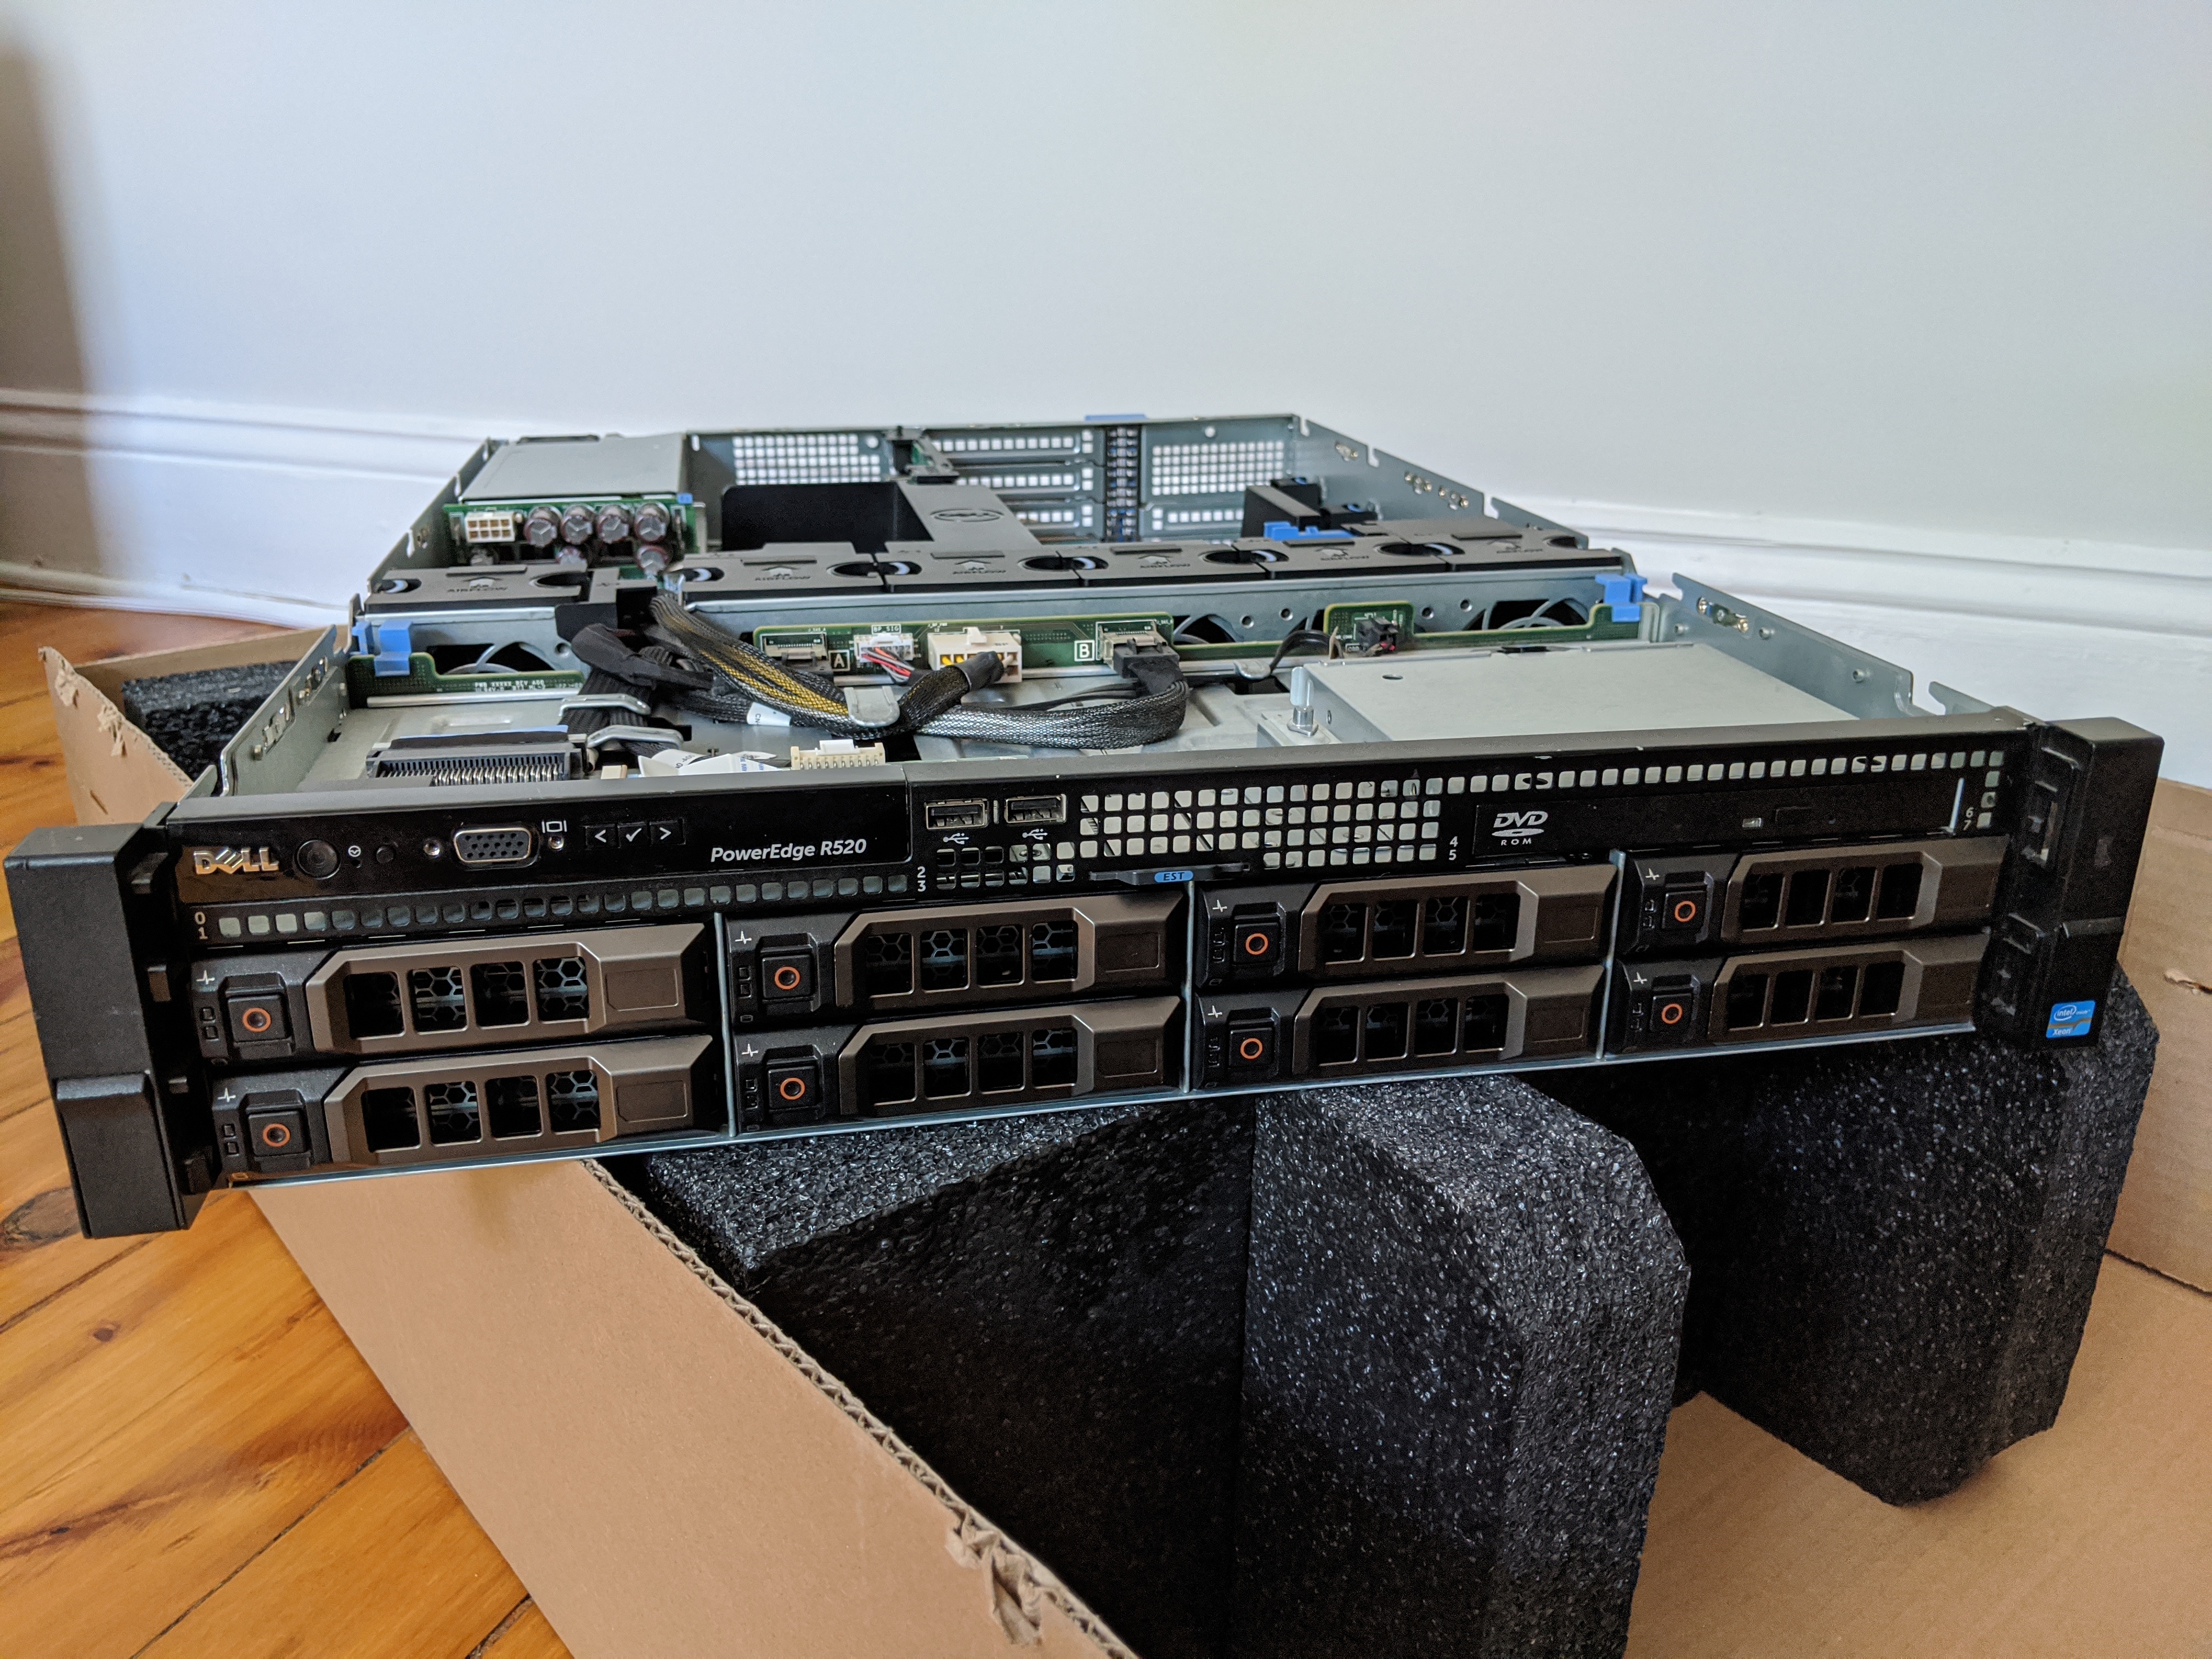
After a bunch of research on r/homelab about which servers are quiet, energy efficient, extendable, and will last a number of years, I settled on a Dell R520 with 2 x 6 cores at 2.4 Ghz, 48 GB DDR3 RAM, 2 x 1 Gbit NICs and 8 x 3.5″ hard drive bays. I bought a 1 TB SSD as the boot drive and a refurbished 10 TB hard drive for storing data.

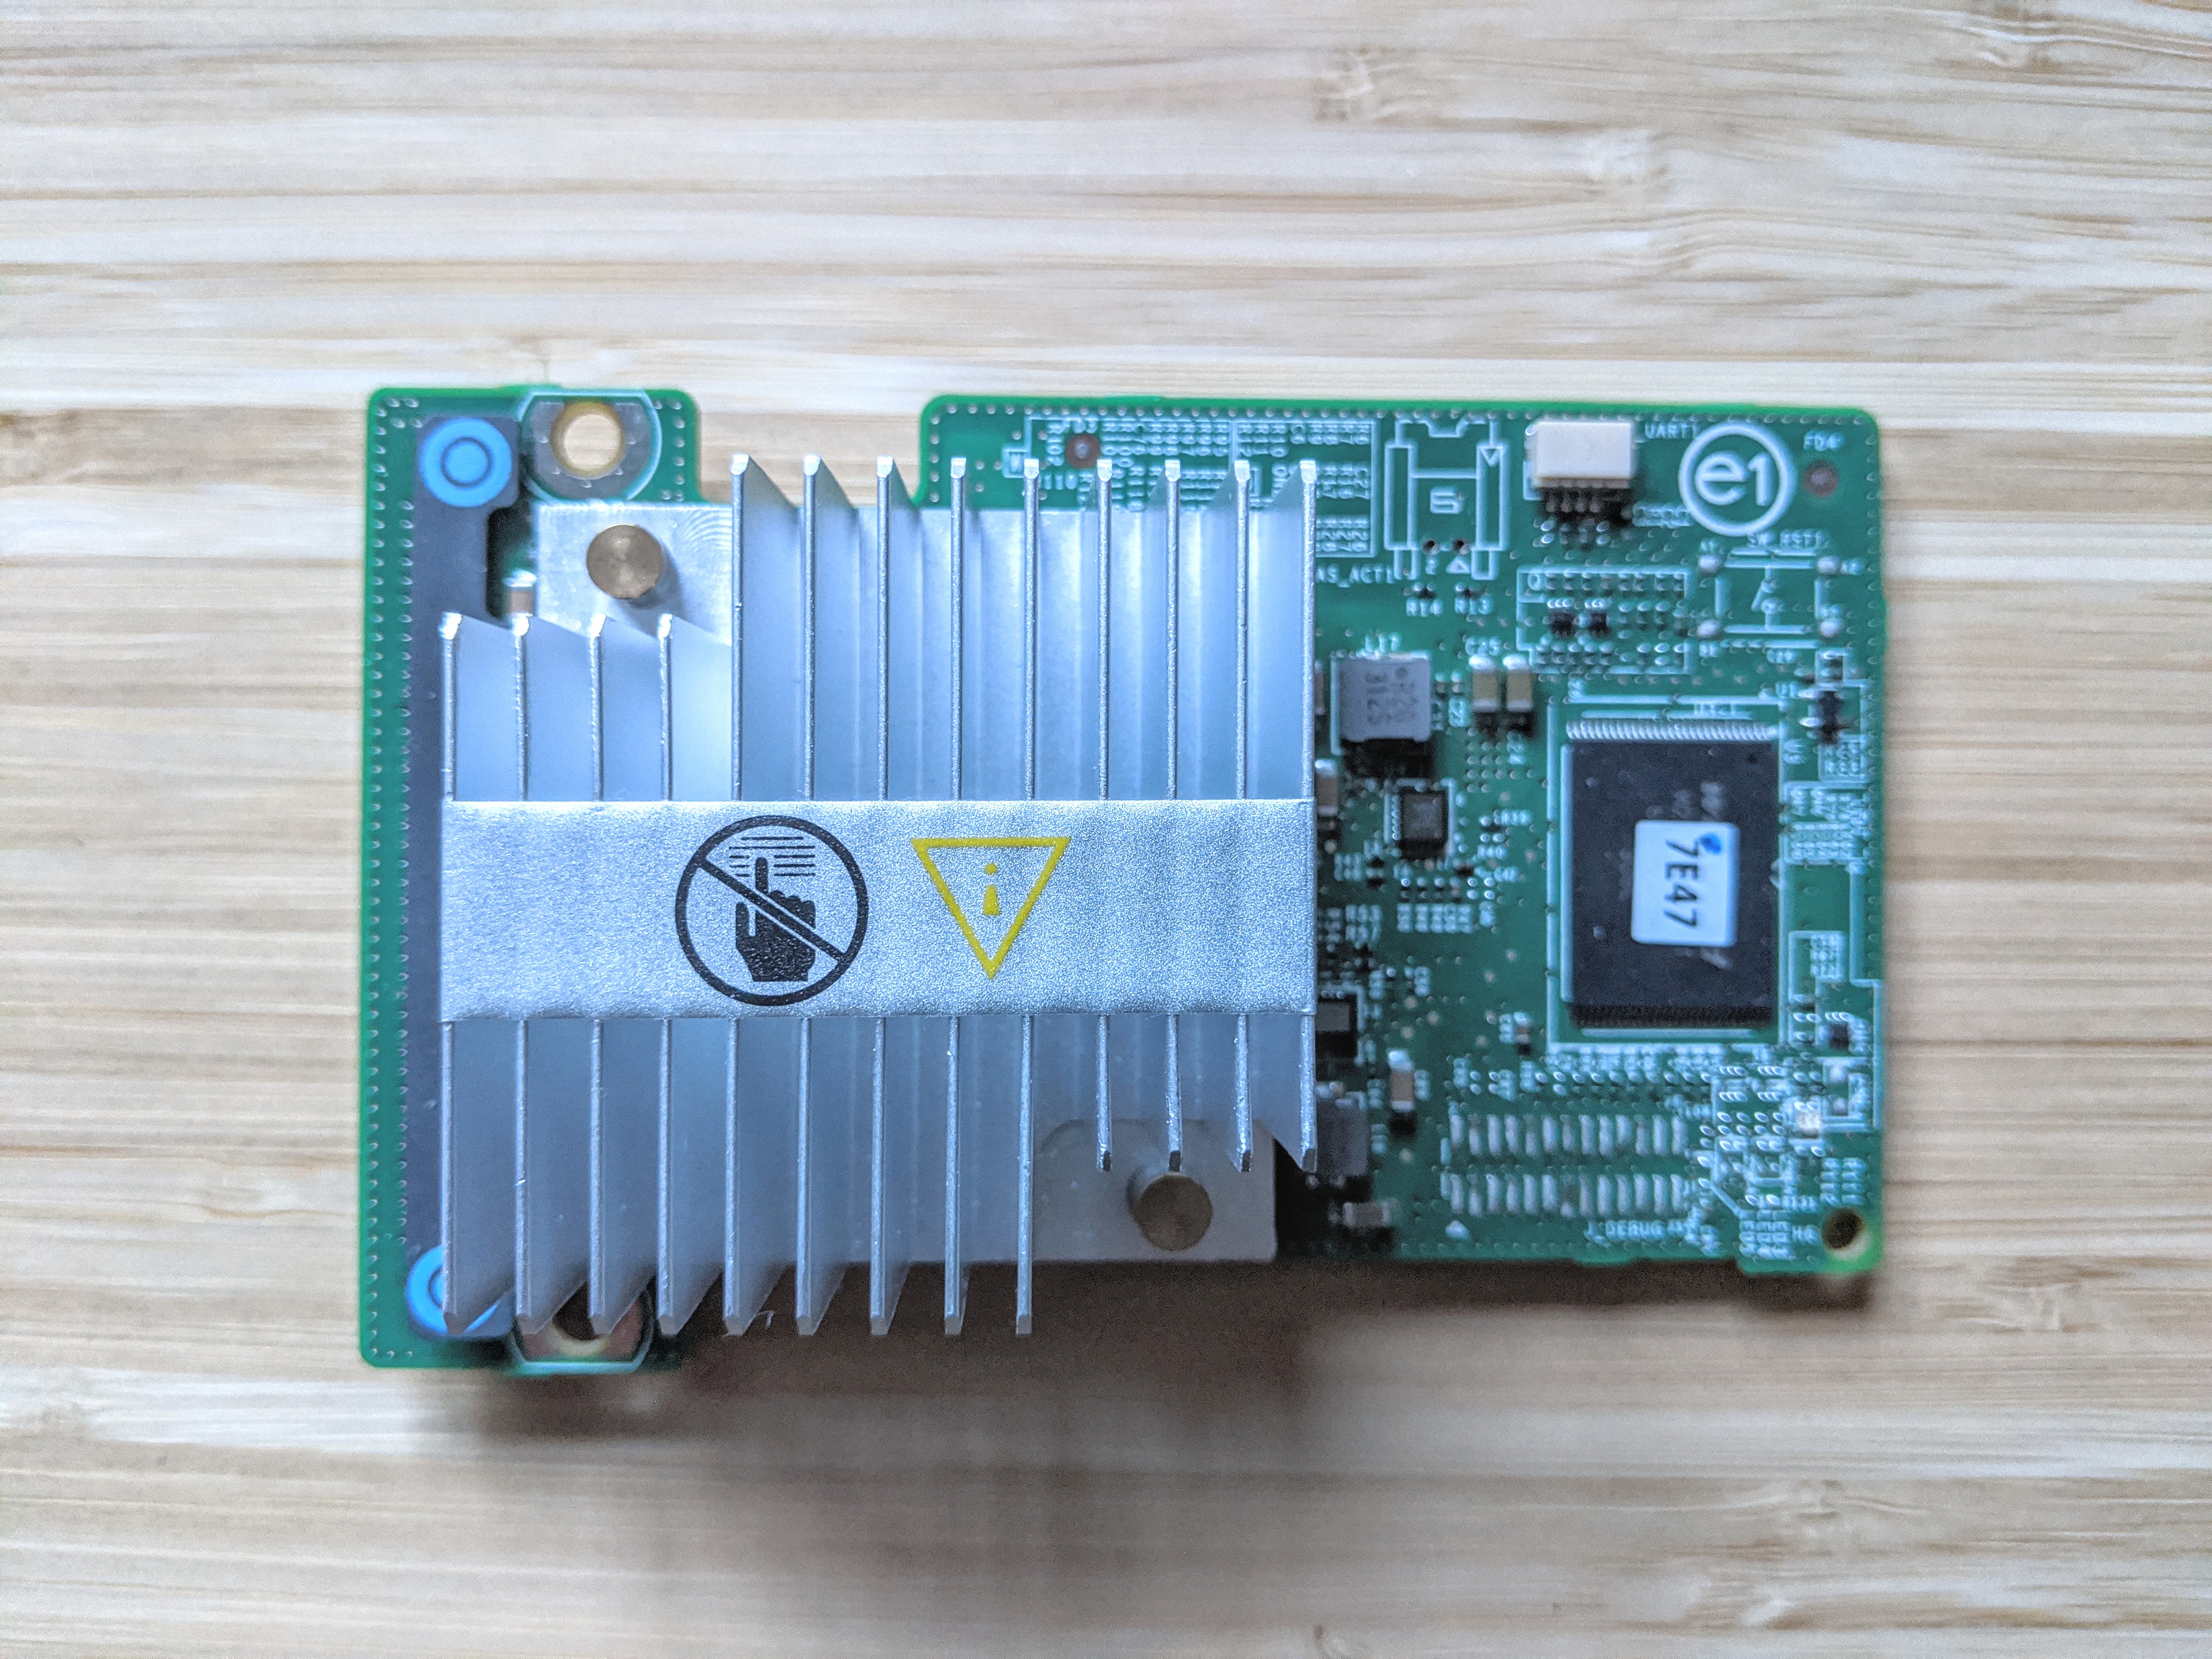
I bought a separate HBA card with the knowledge at the time that the one that comes with the Dell R520 didn’t have any IT mode firmware from the community. I ended up being wrong after a whole lot of investigation. Thankfully I should be able to flash new firmware on this card as well and sell it back on eBay.

Going through the pain of making a USB stick bootable for an afternoon, I eventually got ESXi installing on the system. Poking around, it was interesting to see that VM storage was handled by having a physical disk formatted to a VMware format specific to storing multiple VMs – vmfs. With the goal of having one of the VMs have full control over a drive formatted with the ZFS filesystem, ESXi provides a feature called hardware passthrough which bypasses virtualization of the physical hardware. One big blocker for myself was the restriction on the free version which limits VMs to a maximum of 8 vCPUs – a waste of resources when having 12 CPUs and not enough VMs to utilize them.
Next, I took a look at Proxmox by loading it up as a VM on ESXi. It was Debian based, which was a plus as I’m comfortable with systemd and Ubuntu systems already. The Proxmox UI appeared like it had quite a few useful features, but didn’t feel like what I needed. I was much more comfortable with the terminal, and these graphical interfaces to manage things felt more like a limitation than a benefit. I could always SSH into Proxmox and manage things there, but there’s always the aspect of learning the intricacies of how this turnkey system was setup. Who knows what was default Debian configured and what was modified by Proxmox. Not to mention, what if Docker or other software was out of date and couldn’t be upgraded? This would be an unnecessary limitation I could avoid if rolling my own.
Lastly, I went back to my roots – Ubuntu Server. I spun up a VM of it on ESXi. Since I’m quite used to the way Ubuntu works it was comfortable knowing what I could do. There were no 8 vCPU limitations with Ubuntu Server as the host OS – I can utilize all of the server’s resources. After some thinking I realized I didn’t have any need to run any VMs at the moment. In the past I’ve managed a number of VMs using QEMU using Ubuntu Server, therefore if the need arises again I can pull it off. The reason why I’m not using any VMs is because I’m using Docker for all of my application needs. I already have a few apps running in Docker containers on my laptop that I’ll eventually transfer over to the server. Next up, ZFS on Linux has been available for a while now in Ubuntu, giving me the confidence that the data drive will be formatted with ZFS without a problem.

In the end, Ubuntu Server 20.04 LTS was installed on a 1 TB SSD boot drive. A 10 TB HDD was formatted with ZFS in a single drive configuration. Docker daemon was installed from its official Apt repo, and a number of other non-root processes were installed from Nix and Nixpkgs.
Conclusion
There’s a few more things I want to discuss regarding the home server. Some of those include using Nix and Nixpkgs in a server environment and some of the difficulties, setting up a local DNS server to provide domain name resolution for devices on the network and in Docker containers, a reverse proxy for the webapps running in Docker containers using the Caddy webserver, and some DataDog monitoring.
In the future I have plans to expand the amount of storage while at the same time introducing some redundancy with ZFS RAIDz1, diving into being able to remotely access the local network via VPN or some other secure method, and better monitoring for uptime, ZFS notifications, OS notifications, and the like.